You just finished brushing on the final stroke of paint. But your job isn’t done yet. Now, it’s time to clean up the room so you can bring your furniture and décor back in.

Image Source: pexels.com
Not sure where to begin? Here’s a step-by-step guide on how to clean up after an interior paint job.
1. Remove Painter’s Tape
The first thing you’ll want to do is remove the painter’s tape while the paint is still wet. If you wait until the paint is dry to remove it, you might accidentally tear off some dried paint with it.
But what if the paint is already dry? In this case, you can remove the tape by scoring along the edges with a putty knife.
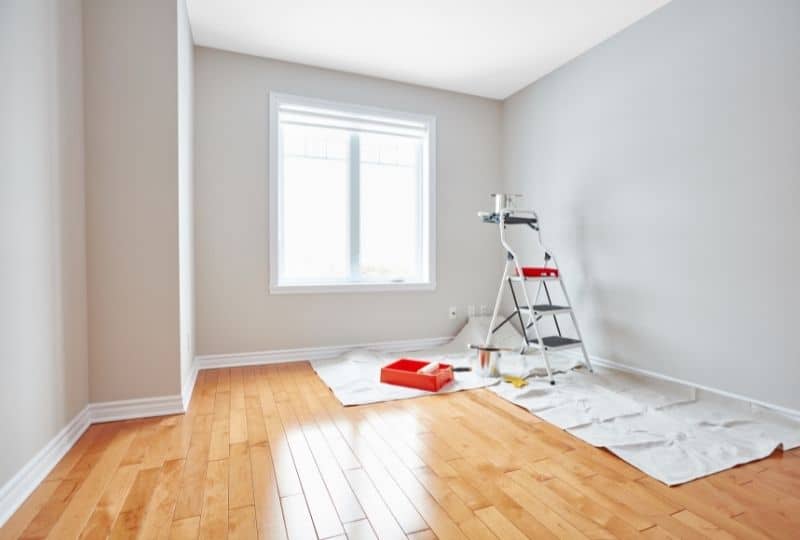
2. Pick Up & Wash Drop Cloths

Image Source: pexels.com
The best way to pick up drop cloths is to fold the edges toward the center. This way, you won’t have to worry about paint dripping onto the floor when you pick them up.
Heavy-duty plastic and canvas are washable, which means you can wash and reuse your paint tarps. For canvas cloths, toss them into the washing machine, wash them in warm water, and tumble dry on the lowest setting. For plastic clothes, handwash them in a bucket (not a sink).
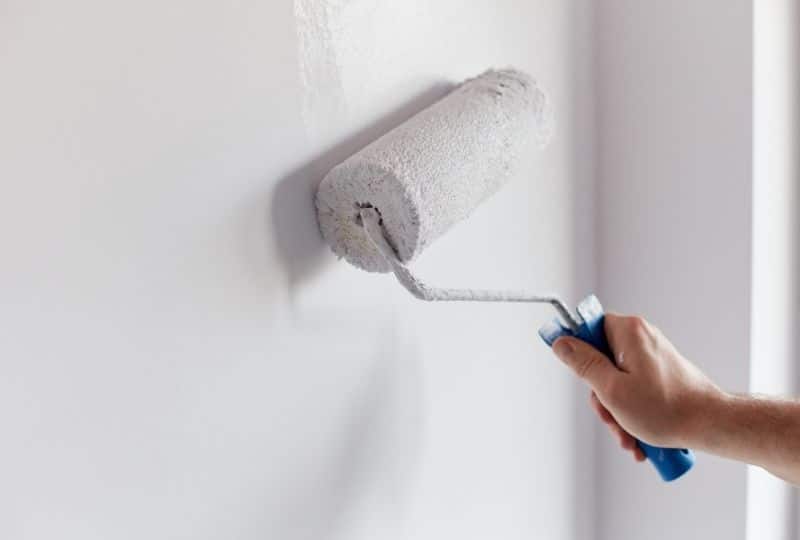
3. Clean Your Tools
The next step of cleaning up after an interior paint job is to clean your tools. You can clean brushes, edgers, paint trays, and scrapers by washing them in a bucket of warm, soapy water (for latex paint) or soaking them in mineral spirits or paint thinner (for oil paint). Use your hand or a scrubbing brush to rub off excess paint. To prevent rust, dry these tools immediately after washing.
Washing paint rollers are a bit more complicated. You’ll want to start by squeezing as much excess paint as possible back into the can. Then, separate the frame and cover.
Clean the frame first by soaking a cloth in the appropriate liquid and using it to scrub off the paint.
To clean the cover, immerse it in liquid and work out the excess paint with your hand. Then, rinse the roller in a bucket of clean solvent. To finish the job, rinse once more with water and detergent.
4. Discard or Store Leftover Materials
Now, it’s time to figure out what to do with your leftover materials. You can safely dispose of most materials in the trash, but you should never throw out paint cans with paint still in them. Paint is hazardous waste; you must bring it to your county’s hazardous waste facility for disposal.
But what if you want to store leftover paint for future touch-ups? In that case, take plastic wrap and place it over the can’s opening. Then, place the lid back on. Find a cool, dry, and dark place to keep your cans and store them upside-down to prevent crusting.
And with that, you’re done! Now, all that’s left is to redecorate the room and admire your beautifully painted walls.


Leave a Reply